

This chapter describes some of the elementary operations you
can perform with XYPLOT. Advanced topics are covered in the
subsequent chapters.
Linux or DOS: XYPLOT is started by typing one of these commands and
pressing Enter.
Windows: The recommended method for starting XYPLOT under Windows
is by clicking on the xyplot shortcut on your desktop. Alternatively,
you can start XYPLOT from a DOS Prompt or Command Prompt window by
typing:
DOS: When you startup xyplot or choose Load from its
file menu, the following prompt will be displayed:
Select the file >>
Windows: Click on the File menu and select Open.
Select a file to load by navigating the standard File Open dialog box.
Note that only files with extension DAT are listed. You can
change the type of files which are displayed from a list in the dialog
box.
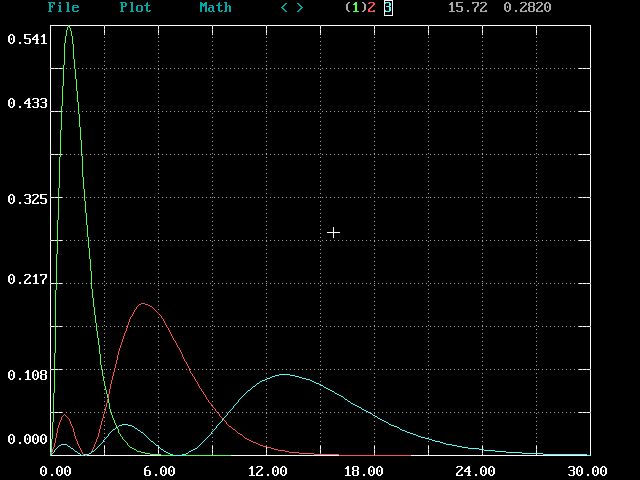
A plot of the data in the file that you have selected appears on
the plot display. Look at the following image for
A frame, its inner edges marked with fixed tics, surrounds the plot
window. A dotted grid may be superimposed on the frame. The
grid is toggled on or off by the G key. In this sense the plot
display behaves as a piece of graph paper that sets the scales on
its axes automatically to show the data that you have.
XYPLOT automatically sets the plot window limits from the minimum
to the maximum values in all the data. You may specify new window
limits by
You may zoom in on part of the plot by using the mouse to define
a box. Move the cursor to point at the lower left corner of a region
you want to see in more detail. Hold down the left mouse button
and move the mouse to define the box. Release the button and the
graph will be redrawn with the new window limits. The portion of
the plot window that had been inside the box will now fill the
entire plot window.
Press the E key and you will be prompted for the new
window limits with a line reading:
Every time you change the window limits XYPLOT makes a record of
the previous window limits.
DOS: Up to four levels of expansion are kept in memory.
To return to the previous level, press Esc.